The Devil is in the Details
How to finish your new build with “builder-included” finishes
It’s beautiful! I love it and it’s reasonably priced, so I’ll take it. But wait…what do you mean? I have to invest an additional how much in upgraded features so it looks like this? It does come with doors right? Sound familiar? For anyone who has embarked upon the new home development option, selecting your interior finishings is challenging at best. However, it doesn’t have to be, with proper research and planning it is possible to achieve a showhome finish with builder-included options.
1. Start with the end in mind.
As with every great project, a concise vision of the end result will guide you through the selection process with ease. Pick up several decorating and design magazines and browse for inspiration, gather your selections and bring them with you to the design centre.
2. Frequent the design centre.
Drop by the design centre at least twice prior to your actual selection appointment. The first time is simply for you to see the colour, texture and product brands and options. Take notes on the manufacturers, your preferred colour selections and research further. Try creating a digital mood board so you can see your selected products together.
3. Consider the big picture.
Resist the temptation to do a room by room selection process and ensure that you are consistent with your colour palate throughout your house. Whether you are partial to warm or cool colour selections, just be consistent.
4. Know your options.
Your builder will likely provide you with its ‘design bible’ which is its compilation of interior options available for your selection. Do your homework and study it. Make columns with the ‘love to haves’ and their price along with the must haves and their price. Place each upgrade and cost in its appropriate column and sum the totals. Determine your budget and prune your list!
5. Determine an upgrade timeline.
As you make and prune your lists, it is quite possible many of your wish list items can be completed post build, at a reasonable cost and making your dream design an affordable reality. These items can include your cabinet hardware selections, faucet, backsplash and lighting. Just be sure to consider any electrical rough-ins at this point, as it is more cost effective to include these during the build.
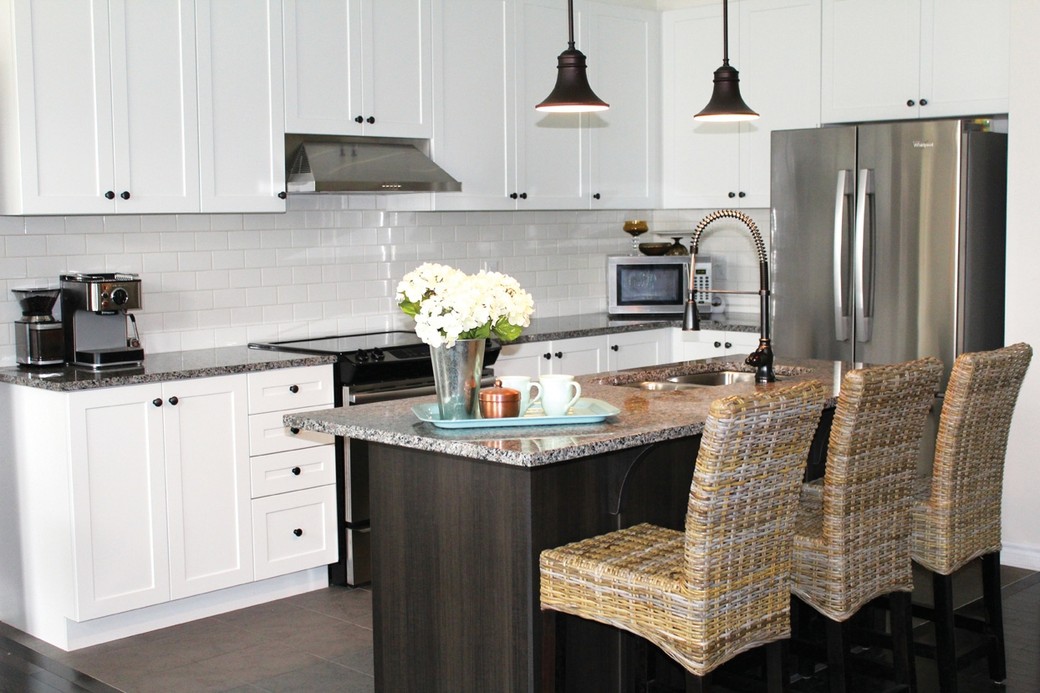
In the above, since the splurge was on appliances there was a tight budget, only $1000, to spend at the design centre on upgrades for the kitchen. The ‘must haves’ included the slidein-range accommodation for the granite counter as well as the electrical rough-ins for the pendant lighting to come. The only other upgrade selected was a contrasting colour base for the island cabinetry. The selected colour palate consisted of cool greys and browns with bright white cabinetry. To contrast with the glossy smooth finish of the granite and backsplash, a rough ‘slate like’ ceramic tile with matching grout was selected for the floor. Since the granite counters were incorporated as the star of the show, the other materials were installed without contrasting grout to provide only an added element of texture. The postbuild upgrades include a new kitchen faucet, backsplash, pendant lighting, cabinetry hardware and hood fan.
Photo Credit: Natalie Mireault Photography.


