Recommended Articles
Home Series: The Greatness of Great Rooms

John’s Reno Tips: A Guide to Building Permits

10 energy saving winter hacks

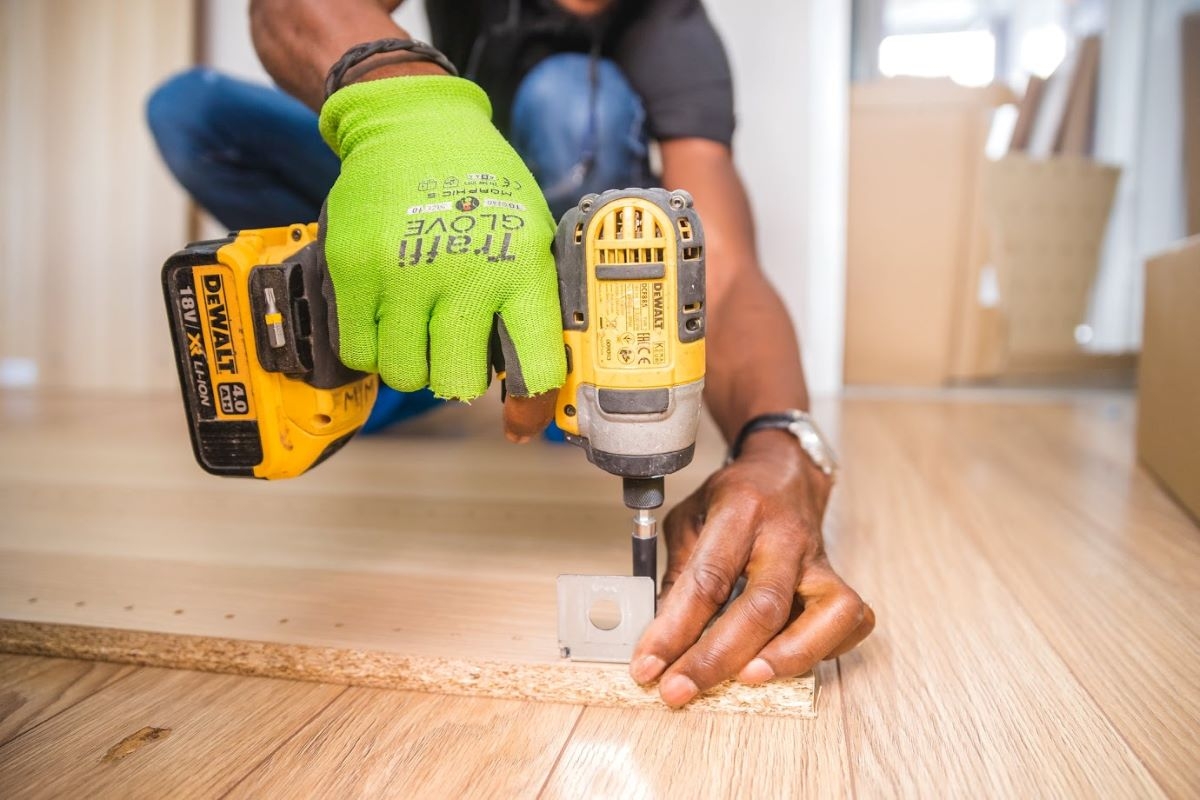
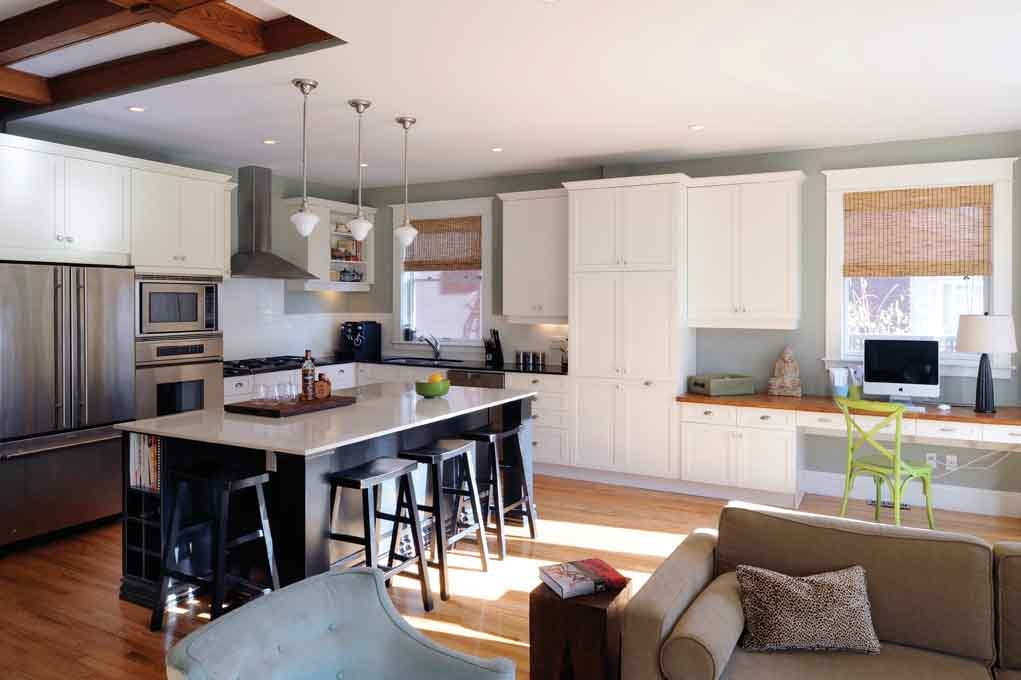
Photo: Bidvine
DIY can be hard to manage, especially when you’re never had to put a shelf together before or even hold a hammer! And because of this, more and more people are feeling inadequate within their own home environment — if something breaks, what are they going to be able to do about it? Just wait for a professional to turn up, pay an extortionate amount in call out fees, and then have to live with the idea that something could break down or malfunction at any point in the future? Well, we say no more!
DIY is one of the most important skills a modern person can have. If you know how to tell your adjustable wrench from your combination wrench, you’ll have a foot up over the rest of the market. After all, if the door comes off of its hinges, or the floorboards need sanding down, you’ll be the one to know exactly what to reach for.
So it’s time to get to grips with DIY, even if you hate the thought of DIY and always like to leave it to someone else. After all, you’ve got a home to live in and take care of, so why not make sure you can do so properly? So without further ado, here are some of the basics that you should get to know before any others — why not note a few things down and do your own research afterwards?
Know How to Keep Yourself Safe
First of all, you’re going to need to learn how to keep yourself safe while going about your DIY business. After all, even when you’re at home, you’re prone to accidents and mistakes, and the home could actually be considered the most dangerous place to be on a daily basis!
So, you’re probably going to need to invest in a few things here. You’re going to want to get a pair of safety goggles most of all, and maybe even a respirator mask, if you’re not too sure what you’re working with. Asbestos can still linger in some of our homes, and if you’re not sure what’s in that spray paint you’re using, and you’re not using outside, you’re going to want to pop a mask on to protect your lungs.
Then you’re going to want to take your time with each of your projects. Don’t rush things, and don’t try to cut corners, especially when you’re not experienced with things like wood working or trying to replaster a wall. An accident occurs when we don’t take care, and we don’t keep an eye on what we’re doing, so slow down, and make sure you take moments to think about things and do a bit of research before you carry out an idea.
You might also want to ask around your home to see if you have a willing helper or two. If you have older kids, or a partner that could get involved, be sure to rope them in to provide an extra pair of hands. You never know when you might need someone to stabilize the ladder you’re at the top of!
Know How to Handle Your Tools
Then you’re going to want to get to grips with the right tools of DIY. You’re going to want to invest in or get a collection of power tools here, to help you cut down on the time your DIY projects take, as well as get enough strength and force behind your screwdriver when you’re trying to fix a hardy piece of wood together. There’s also plenty of accessories out there for power tools, such as adjustable screw heads, so be sure to get a good range of those. There’s little to no standardization amongst screw heads and sizes, so you’re going to want to cover all of your bases.
You’re also going to want a hammer, a tape measure and a set level, a set of manual screwdrivers for the little projects, an adjustable wrench, a pair of pliers, and probably even a handsaw. You’re also going to want to get your hands on various types of tape, such as duct tape and electrical tape, to ensure you’ve got an adhesive type to make use of in sticky situations. This is a basic tool kit for beginners when it comes to DIY, and it’s important to get comfortable with these types of tools in terms of future upgrades.
Know How to Stay Neat and Tidy
Your house is your haven, so make sure it doesn’t get all messy when a DIY project is underway. Sure, you’re going to create a mess, but it can be minimized with a bit of preparation. After all, DIY is also about staying neat and tidy — you don’t want your work site to turn into a disaster area, so make sure you put some kind of protective covering down, and try to keep all of your tools together in the box where you found them. Losing a hammer or screwdriver is much easier to do than you might think!
Know What Makes a Good Pipe
When it comes to DIY, anything involving plumbing or other water systems can seem very daunting. After all, what are you supposed to do with a broken or burst pipe that runs around the lower wall of your home? You can’t just take it out without any consequences, and you definitely need to make a change sooner rather than later, lest you accidentally install an indoor swimming pool!
And when it comes to the winter period, plumbing pipes and drain pipes/gutters etc., can all freeze up and expand, and that can mean a routine sort of maintenance needs to occur. And that can be hard during holiday times and peak periods — you could be waiting days for a call out to finally come along, and you could be facing a bill of over $100.
So, get to know your pipes. First of all, if you suspect something is wrong, turn the water off at the source. In the bathroom, you should be able to get the valve right next to the toilet to interrupt the flow. And then, get to know when there’s a problem, and what kinds of sounds, stains, and smells can erupt from a pipe when one is occuring. Get to know the different types of pipe replacements you can invest in, such as a 25MM Stainless Steel Tube, to help you fix a broken or burst pipe before it spirals into an in-home disaster.
Know How to Sand and Fill
The walls and floors around your home didn’t get to be so smooth and level by accident. A lot of time and effort went into making sure they were sanded down enough to be comfortable, and that not tripping could be done on the uneven surface, and no holes in the wall could be big enough to chip and crack the entire house to the ground.
Which is why, as a homeowner in the modern day and age, it only makes sense to get to grips with sanding and filling of your own volition. Both of these DIY elements are typically quite simple to get on with, and they’d be a neat skill to have under your belt, so don’t be afraid to get out there and invest in these very simple tools!
For sanding, you’re going to need to invest in various types of sandpaper, which is the budget option — make sure you have more than one type of grit, to ensure you have sandpapers that are soft enough for casual projects, and rough enough to get the really tough grooves off.
For filling, you’re going to want to learn how to plaster. Your walls could be damaged by even the smallest of holes that appear in them, and if you live in a busy household, there’s a good chance one of your kids can accidentally knee a big hole in the wall when running around! You’re going to want to invest in a bucket of plaster, for keeping in the shed for as and when you need it, as well as a filling knife. Once you’ve got both of these items to make use of, be sure to follow along with instructions like these to get you started – luckily, once you’ve plastered on hole,you’ve plastered them all!
So, Could DIY Be a Skill for You?
Of course it could! DIY is often made out to be much harder than it actually is, but once you’ve got the right tools in the tool box, as well as a bit of belief in yourself, you could do all kinds of things in your own home.
And thankfully, due to the invention of the Internet, you could become an expert at a certain DIY task in just a few minutes. Watch a video, read a guide, and then get to working on your plumbing or replacing the cupboards in your kitchen — you can do it!